Identifying the right joint
We analyze your specific needs and environment to determine the optimal sealing solution.

Proper sealing prevents structural damage and deterioration over time.
Sealed surfaces resist dirt, grime, and moisture for simpler upkeep.
Keep your space comfortable and healthy by eliminating air leaks and moisture traps.
Fire-rated sealants help contain flames and smoke in emergency situations.
High-performance silicone sealants for areas with water exposure and movement.
Ideal for bathrooms, kitchens, windows, and expansion joints.
Inspect annually, clean with mild soap, replace if cracking appears.
Modern hybrid sealants combining silicone and polyurethane properties.
Perfect for walls, windows, ceilings, and areas requiring paint finish.
Check annually, can be painted over, repair as needed.
Specialized sealants designed to maintain fire ratings and compartmentalization.
Essential for commercial buildings, fire barriers, and escape routes.
Regular professional inspection is required; document it for compliance.
Pre-formed sealing solutions for consistent application and specific needs.
Window installations, HVAC systems, and tight spaces.
Minimal maintenance, inspect edges periodically.
Complete moisture protection systems for walls, floors, and roofs.
Building envelopes, basements, and high-humidity environments.
Inspect for punctures or tears, repair immediately if damaged.
Compare options and choose the right solution for your needs.
| Type | Elasticity | Waterproof | Paintable | Fire-resistant | Ideal for |
|---|---|---|---|---|---|
| Silicone Joints | Yes | Yes | No | No | Kitchens, Bathrooms |
| Hybrid Joints | Yes | Yes | Yes | No | Walls, Windows, Ceilings |
| Fire Protection Joints | No | Yes | No | Yes | Large buildings |
| Sealing Tapes | No | Yes | Depends | Depends | Windows, HVAC systems |
| Vapor Barrier Foils | No | Yes | No | Depends | Building envelopes, basements |
We follow a structured process to deliver high-quality results for your sealing needs.
We analyze your specific needs and environment to determine the optimal sealing solution.
Proper preparation ensures maximum adhesion and longevity of the sealant.
We use professional techniques and tools for a clean application and finish.
We inspect and test the work to confirm sealing quality and performance.
Enjoy lasting protection and peace of mind with our professional solutions.
Explore our portfolio of successful joint sealing and moisture protection projects.
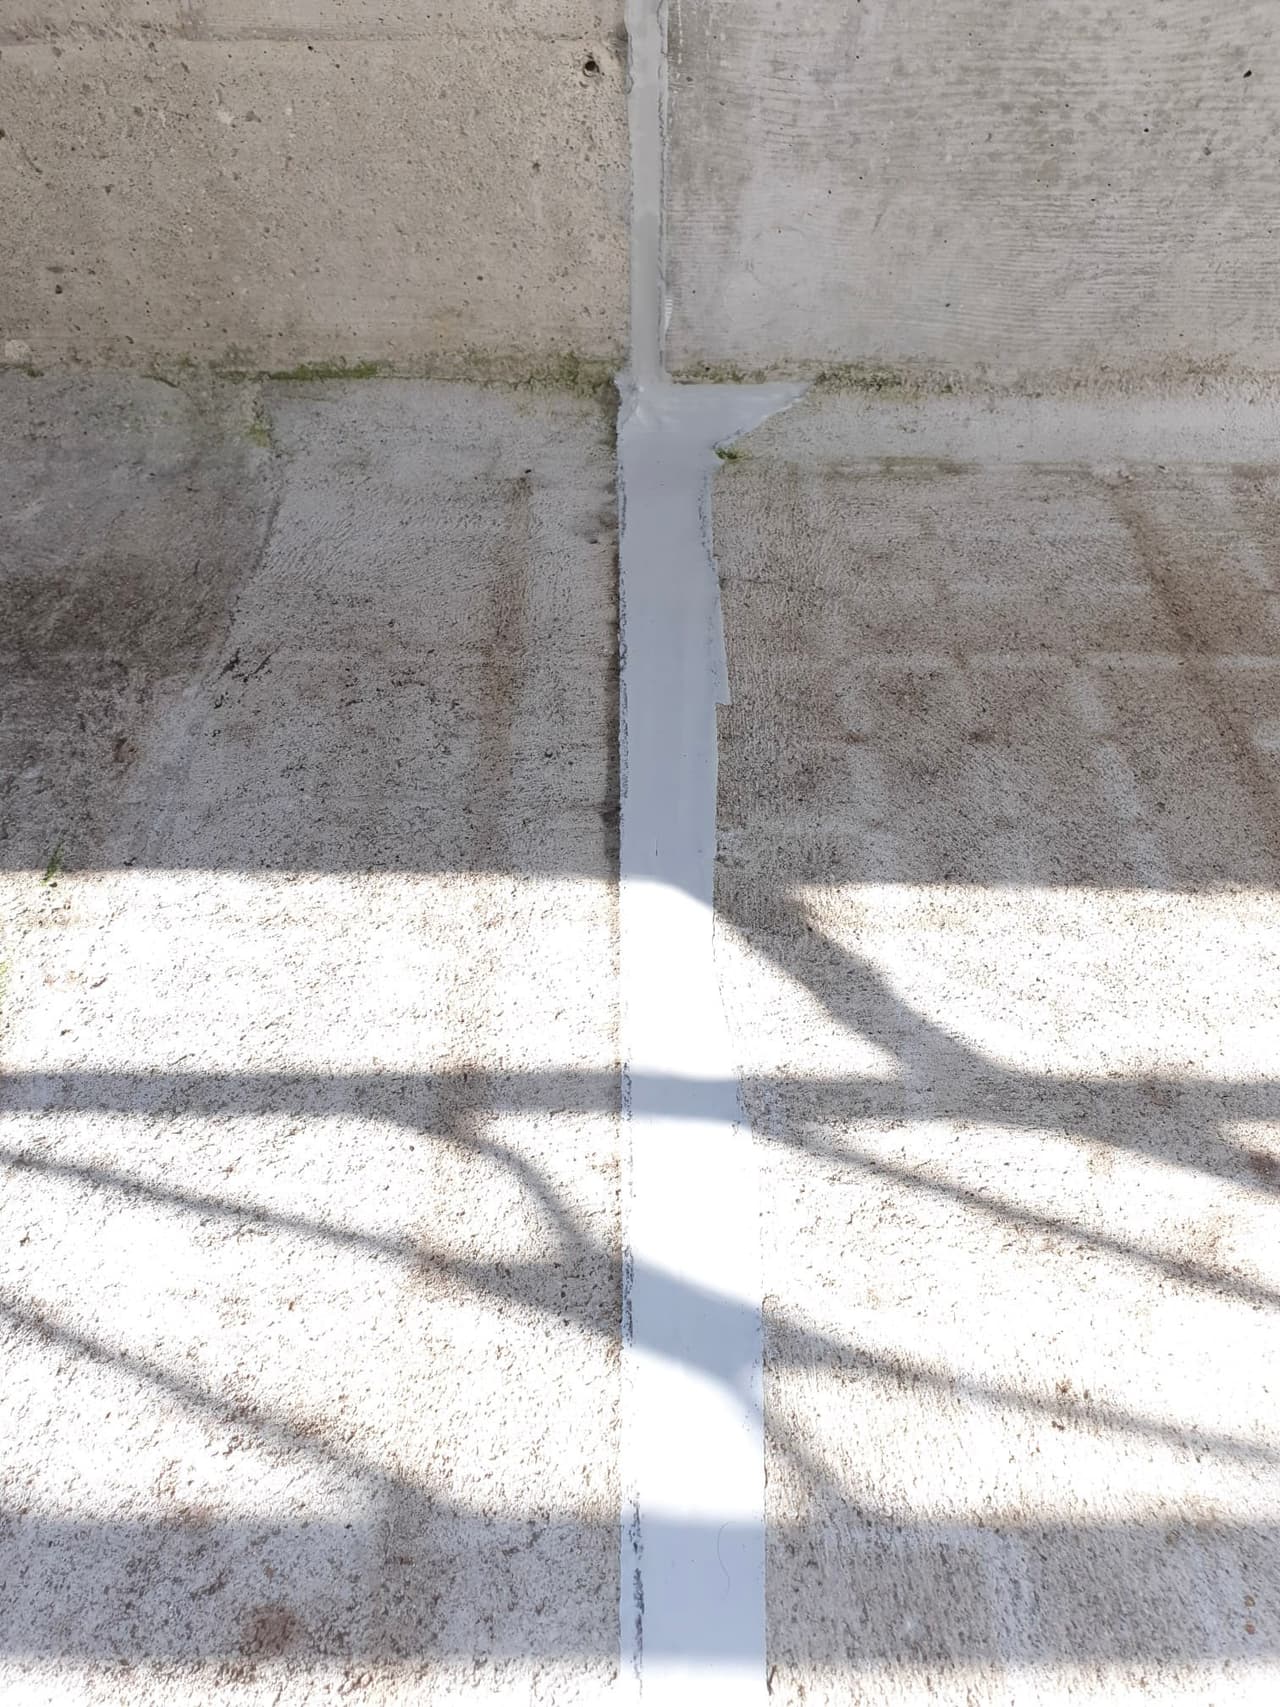
Expansion joint
A concrete surface joint was documented before and after a light gray sealing finish was applied.
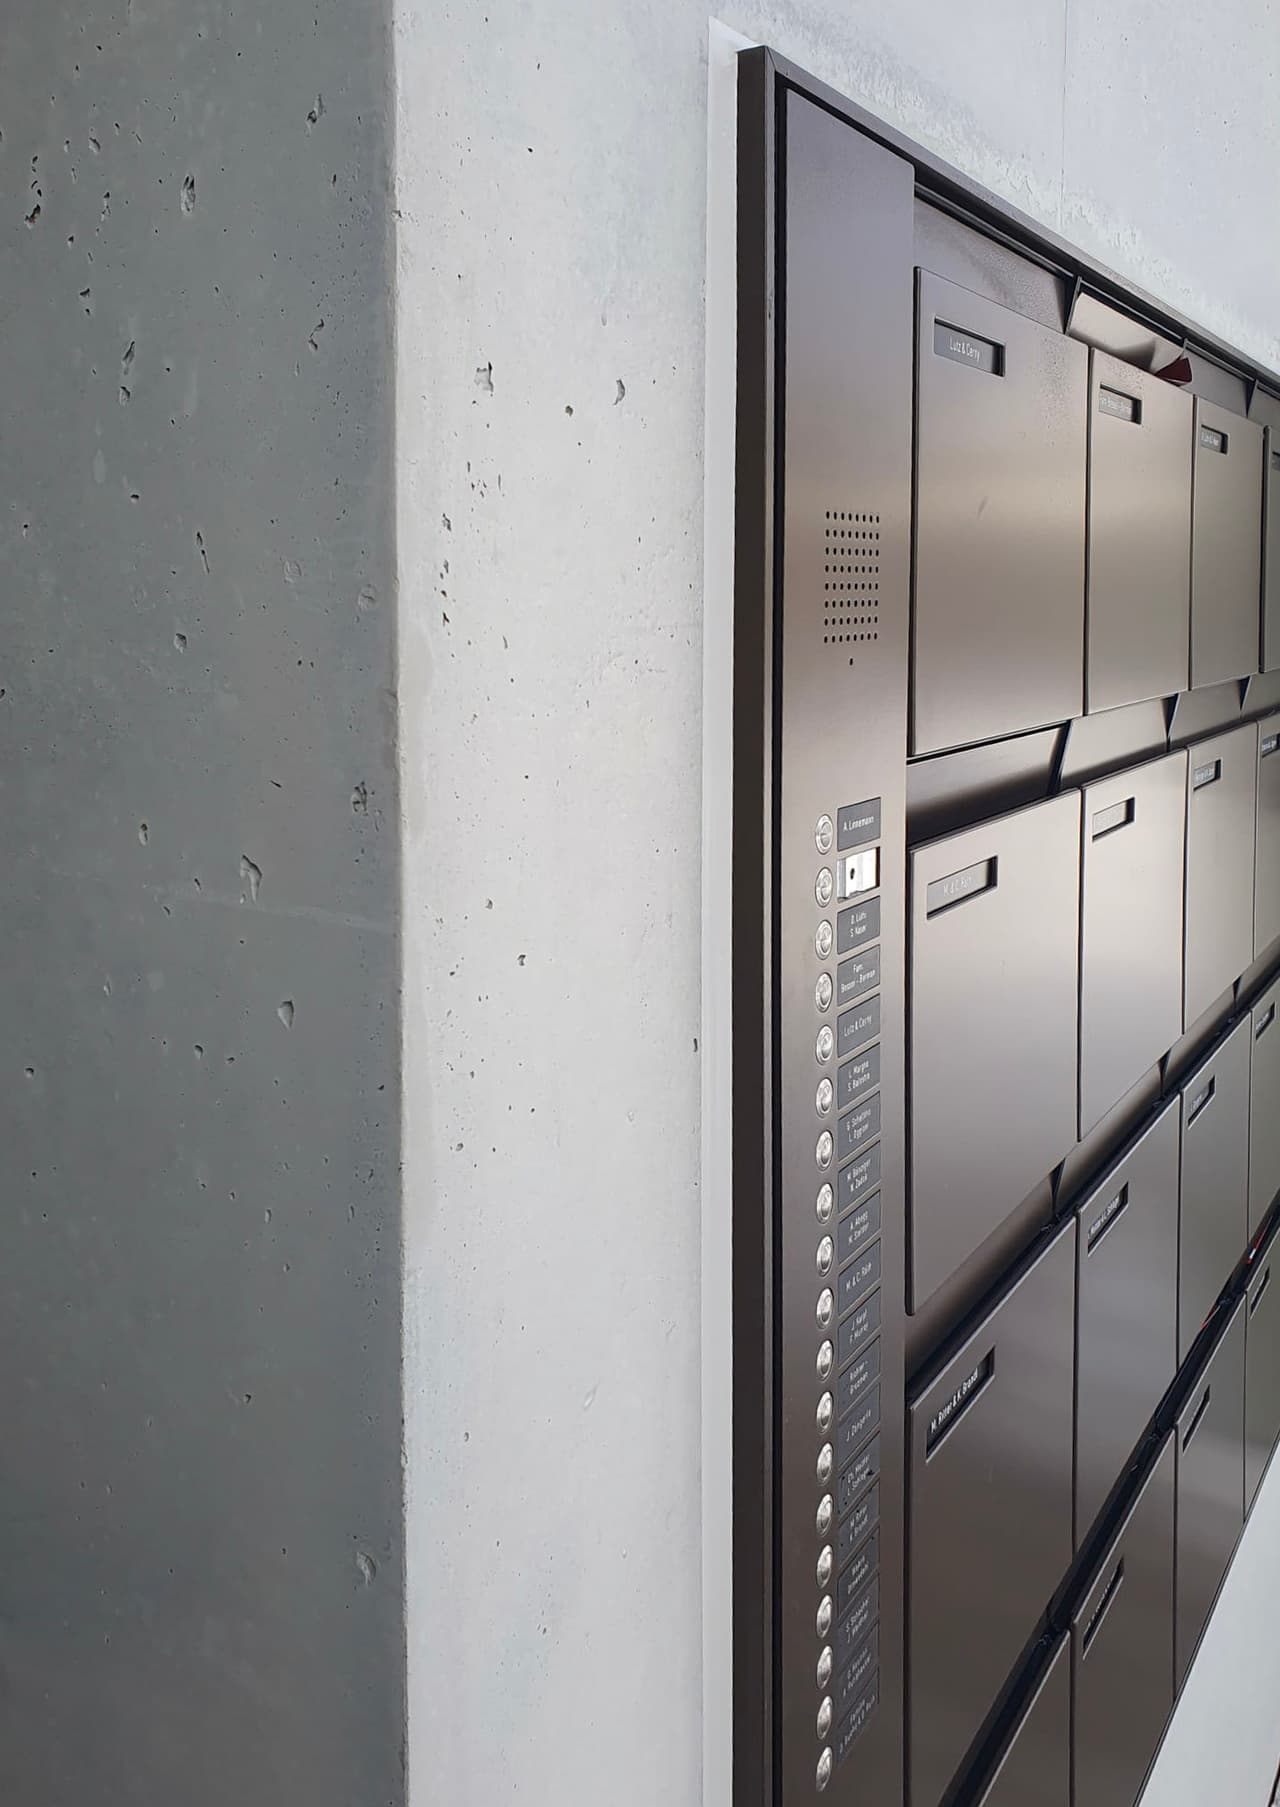
Perimeter sealing
A metal mailbox and intercom frame is shown with a neat white perimeter seal against a concrete wall.
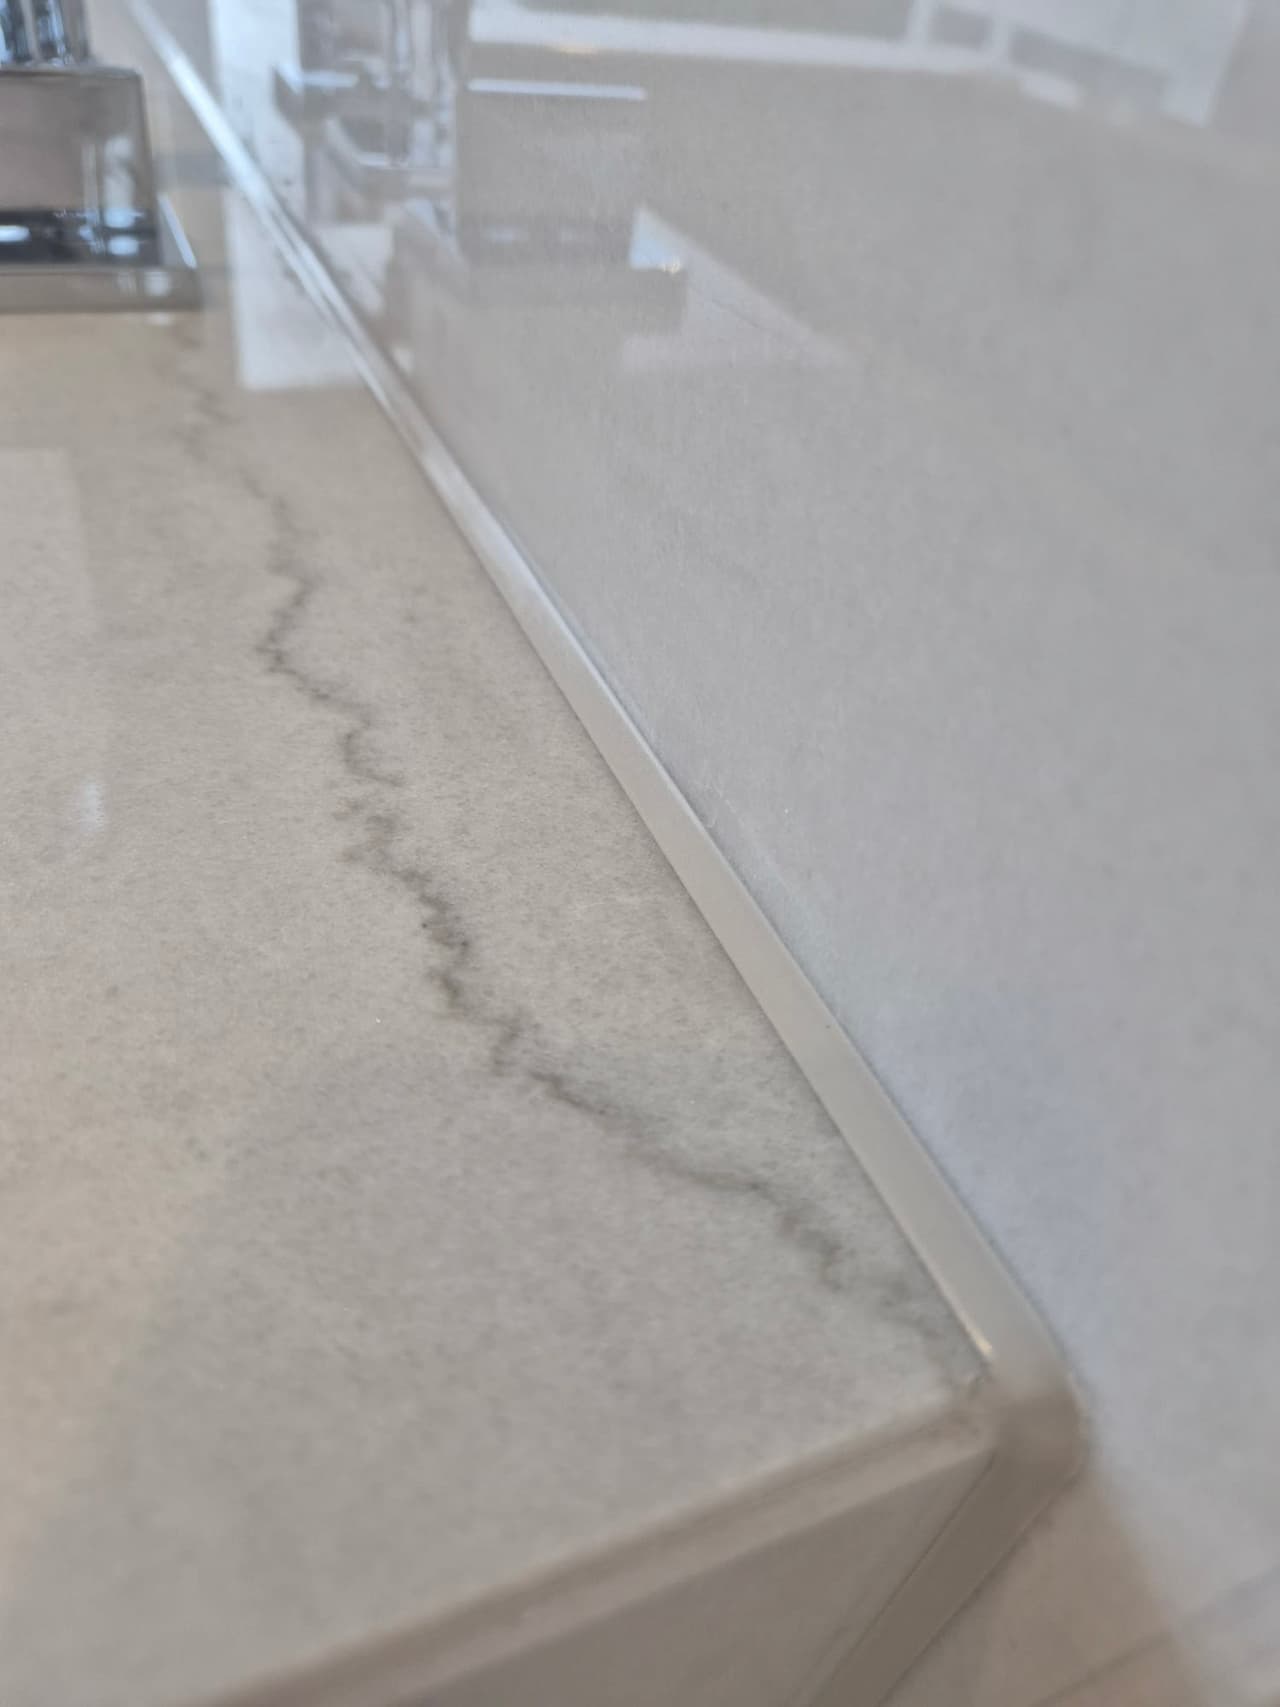
Sanitary sealing
Bathroom images show sanitary sealing details around a vanity counter, shower area, glass, tile, and wall surfaces.
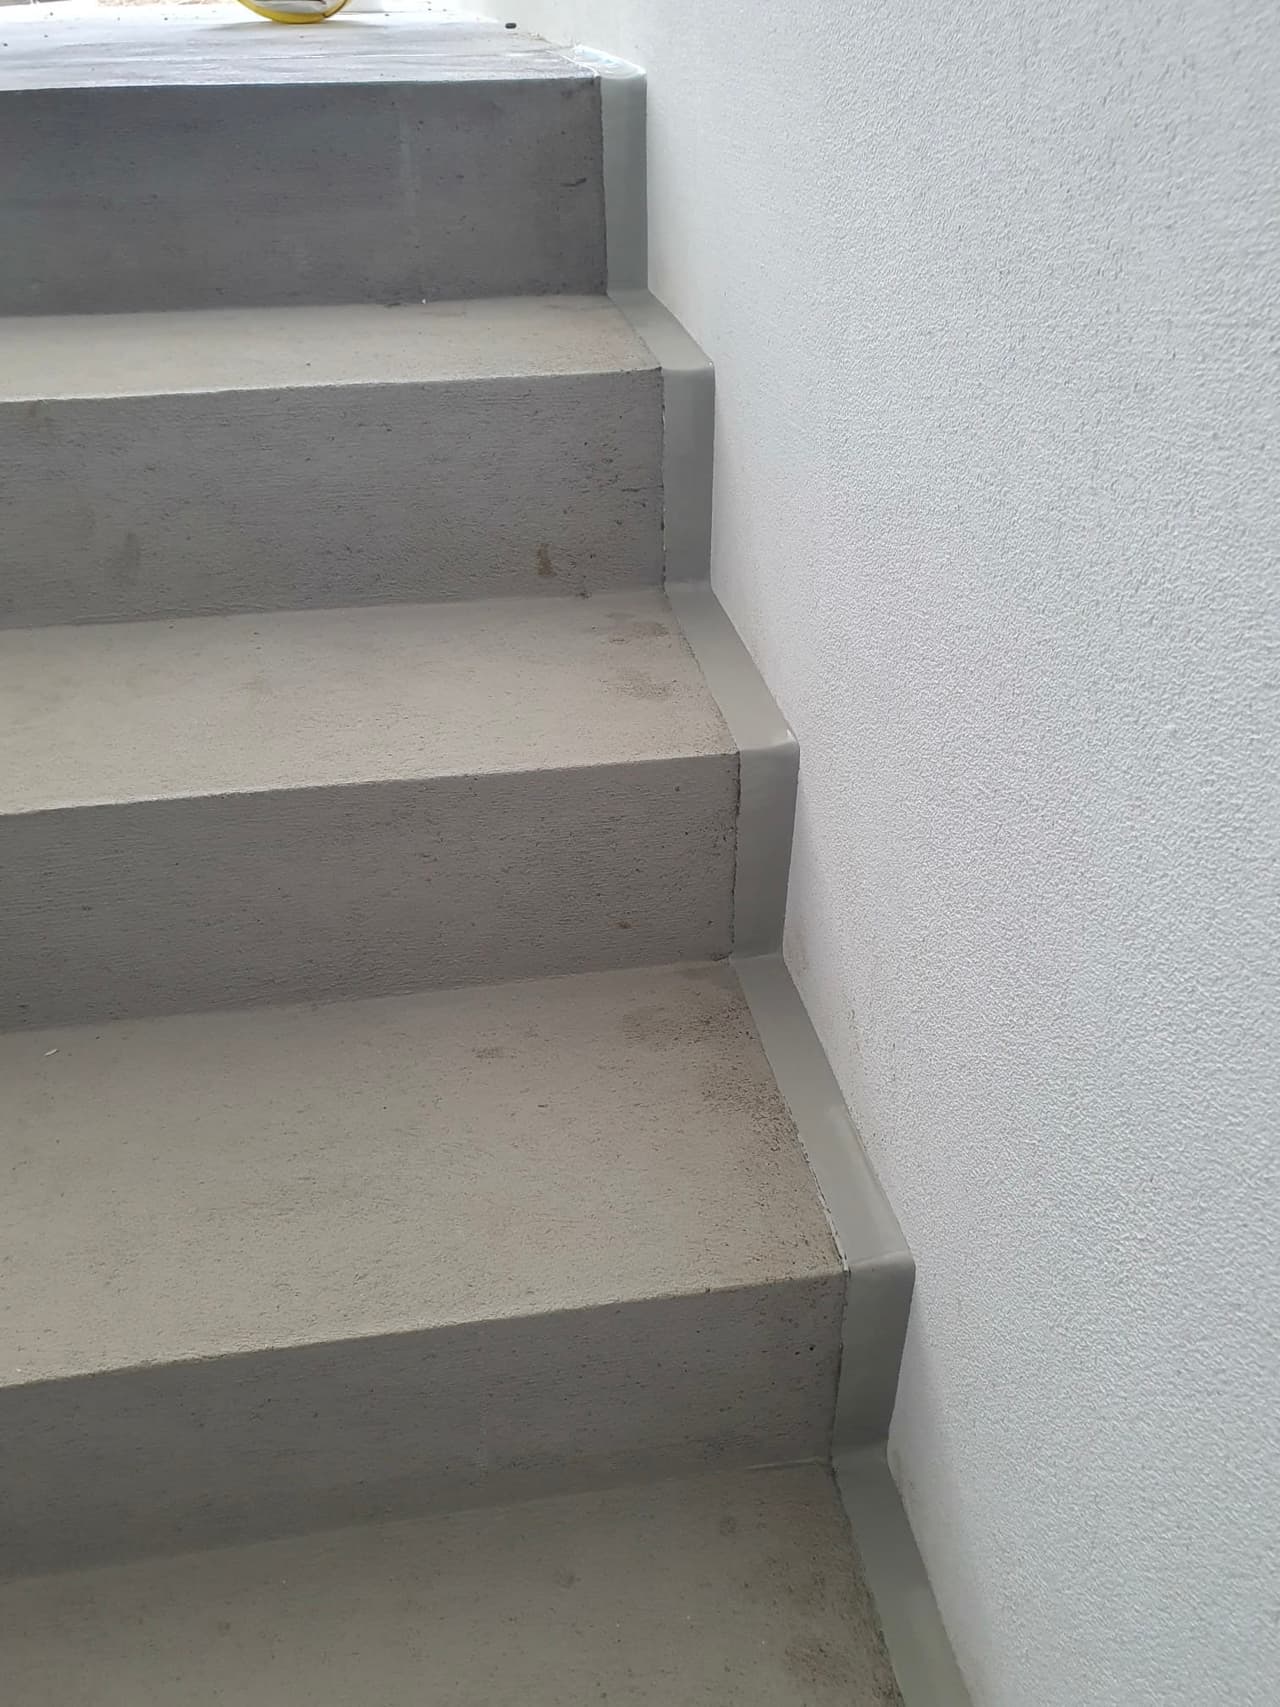
Floor joint
Concrete stairs are shown before and after a gray joint was finished along the wall-side edge.
The joint sealing work was planned around occupied areas, so access for tenants and maintenance staff stayed manageable.
Material choices and preparation steps were explained clearly before work started, which made approvals easier.
After completion, we had clean wet-room joints and practical maintenance guidance for future inspections.
The team helped us understand which areas needed silicone, which edges needed different preparation, and what should be left to cure.
Work areas were kept orderly, and the finished joints matched the tile and sanitary fixtures without drawing attention.
The advice on cleaning and ventilation was useful because it focused on keeping moisture problems from returning.
Details such as substrate condition, movement joints, and adjacent finishes were checked before the sealing work began.
Communication with the other trades was straightforward, which helped the sealing fit into the wider schedule.
The documentation and handover notes made it easier for the property team to plan follow-up maintenance.
Clear answers to common questions about silicone joints, sealant joints, wet-room sealing, and long-term joint maintenance.
Silicone joints are elastic sealant joints between tiles, sanitary fixtures, glass, worktops, windows, or other building elements. They help stop water, moisture, and dirt from entering the joint while allowing small movements between different materials.
Silicone joints are commonly used in bathrooms, showers, bathtubs, washbasins, kitchens, WC connections, windows, doors, worktops, and glass areas. In building and renovation contexts, these details may also be referred to as sealant joints, silicone sealant joints, or sanitary silicone joints.
A silicone joint should be replaced when it turns yellow or black, cracks, separates from the surface, loses elasticity, or shows mold. Damaged sealant no longer protects reliably and can allow moisture behind tiles or sanitary fixtures.
Mold usually appears because of constant moisture, poor ventilation, soap residue, and standing water. Even sanitary silicone with anti-mold additives performs better when the room is ventilated and the joint is kept as dry as possible.
Light surface mold can sometimes be removed with a suitable cleaner. If mold has penetrated the silicone or the joint has turned black beneath the surface, the safer solution is to remove the old sealant completely and apply new sanitary silicone.
A professionally applied silicone joint can last for several years, depending on the product, surface preparation, ventilation, water exposure, and cleaning routine. Joints in showers and wet rooms usually need inspection sooner than joints in dry areas.
Applying new silicone over old silicone is not recommended. Fresh sealant does not bond reliably to aged, greasy, dirty, or damaged silicone, so the old material should be removed and the surface cleaned before resealing.
Sanitary silicone is designed for bathrooms, kitchens, and wet rooms and typically contains anti-mold additives. Construction silicone is used for windows, facade details, glass, and other building joints where weathering, adhesion, and movement are the main requirements.
Yes. Natural stone such as marble, granite, and travertine should be sealed with a silicone made for natural stone. Standard silicone can cause staining or edge discoloration, so material compatibility should be checked before application.
Silicone joints can crack if the wrong sealant is used, the joint is too thin, the surface was not prepared correctly, or the joint is exposed to more movement than the product can handle. Correct joint width, depth, and backing are important for durability.
Many silicones form a skin within minutes, but full curing usually takes 24 to 48 hours. The exact curing time depends on the product, joint depth, temperature, and humidity, so showers and bathtubs should stay dry until the sealant has cured.
Clean silicone joints regularly with mild products, avoid abrasive brushes and aggressive chemicals, and remove standing water after showering. Good ventilation and routine inspection are the simplest ways to extend the life of silicone sealant joints.
Properly installed silicone sealant joints are water-resistant and help protect transitions between surfaces, but they are not a substitute for the underlying waterproofing system in wet rooms. If the sealant separates, cracks, or loses adhesion, water can pass through the joint, so visible damage should be repaired promptly.
An elastic joint can absorb small movements between different materials, such as tile and bathtub, floor and wall, or glass and frame. That is why silicone is used where rigid cement grout would crack or lose contact.
Professional silicone application ensures proper adhesion, joint shape, depth control, surface preparation, and a clean final finish. Poorly applied silicone can detach, crack, trap moisture, or fail early, which may lead to more expensive water damage later.